Record a combined mix on track 1 and isolated sources on additional tracks. In the editor, choose either the mix or the isolated tracks, not both at once.
The useful recording has both a mix and its ingredients
A loud explosion covers one sentence in your tutorial. If your microphone and desktop sound were recorded into one audio stream, lowering the explosion also lowers the sentence. Separate tracks give you independent level control, noise treatment and edits. They cannot unmix sources that were already combined.
OBS supports assigning sources to multiple recording tracks. Ordinary players usually play one audio track at a time, so a file containing only isolated sources can appear to have missing sound when someone previews it. The practical solution is a complete listening mix on track 1, microphone on track 2, and game or application audio on track 3. This makes the file useful both before and after editing.
First eliminate duplicate capture routes
Make a short recording while watching the Audio Mixer. Speak without playing game audio, then play game audio without speaking. Identify exactly which source meters move. Give the sources meaningful names such as Mic and Game.
If application audio and Desktop Audio both capture the same game, you may be recording it twice. Disable or reroute the duplicate instead of compensating with quieter faders. Headphones also help prevent the microphone from picking up speakers. OBS monitoring is another possible loop: “Monitor and Output” can feed a source into a device that Desktop Audio captures again. Check the monitoring device and routing before assigning tracks; track checkboxes cannot remove leakage already inside a microphone recording.
Set the recording container and enabled tracks
- Open Settings → Output and switch Output Mode to Advanced if your current mode does not expose the recording tracks.
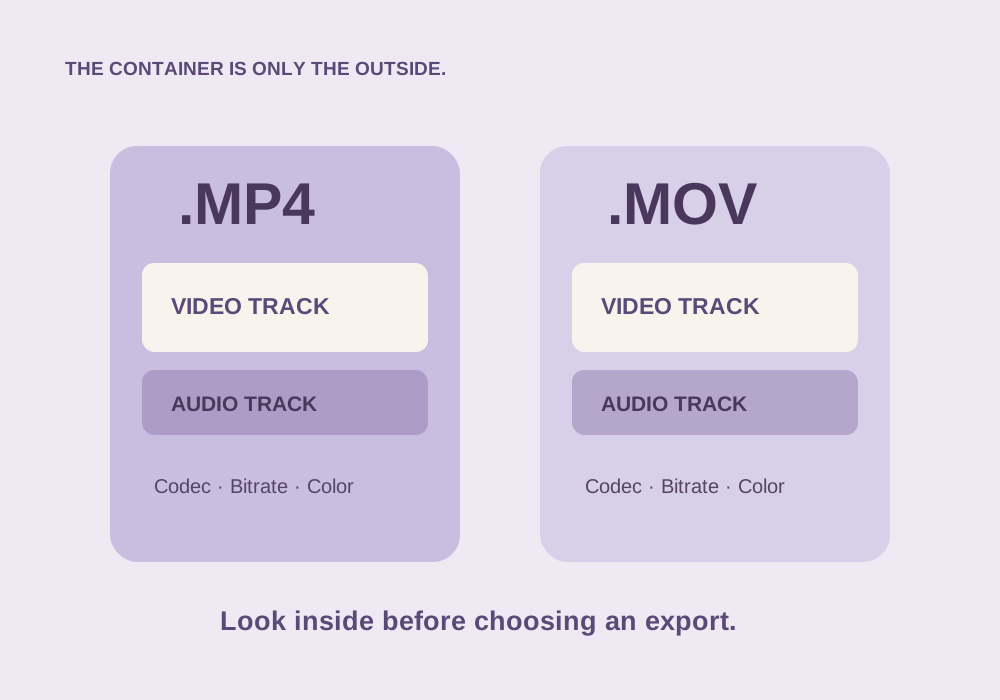
- In Recording, choose a multi-track-capable container. OBS’s documentation recommends MKV for this workflow, with remuxing to MP4 afterward if needed.
- Enable recording tracks 1, 2 and 3. A routing checkbox alone will not save a track that is disabled here.
- Use the recording encoder and quality preset appropriate to your machine. Keep this test short so you can check audio without creating an enormous file.
Use a folder on a drive with enough free space. Container choice, source routing and encoding quality solve different problems; changing video quality does not make track separation happen.
Assign the sources in Advanced Audio Properties
Open Advanced Audio Properties from the Audio Mixer’s controls or the Edit menu, depending on your OBS version. Set the track routing deliberately:
| Source | Track 1: preview mix | Track 2: microphone | Track 3: game |
|---|---|---|---|
| Mic | On | On | Off |
| Game/application audio | On | Off | On |
Leave unrelated track boxes off unless you have a plan for them. If you record a call, music or another source, give it an additional isolated track and include it in the preview mix only when wanted. Existing source filters generally affect the routed output, so an aggressive live noise filter can be baked into the isolated microphone track too. Do not assume “isolated” automatically means unprocessed.
Import without doubling the sound
Record a thirty-second test: voice alone, game alone, then both together. Open it in a player and select each audio track to verify the contents. Remux through File → Remux Recordings if your editor needs MP4, then verify that all intended tracks survived. Remuxing changes the container rather than re-encoding the picture.
In the editor, inspect the imported clip’s audio-channel mapping. Some editors expose all tracks automatically; others need Clip Attributes or equivalent settings. When mixing from isolated tracks, mute or remove the combined track 1. Playing track 1 together with tracks 2 and 3 doubles their shared content and can produce excessive volume or comb filtering if one copy is offset. Keep track 1 available as a reference, but do not mix it into the final output twice.
Troubleshoot the actual track, not the player default
If a player sounds like “microphone only,” switch its audio track before concluding that recording failed. If the editor exposes only one track, inspect its import settings and the file’s stream list. If track 2 contains game sound, check the OBS routing and microphone speaker leakage separately. Save the scene collection after the test so the verified routing is available for your next session.
Finish with a rehearsal that uses the same scene collection and sources as the real recording. Solo each isolated track in the editor, adjust the microphone by a noticeable amount, and confirm that the game stays unchanged. Export a small combined delivery file and listen outside the editor. This single test establishes that source capture, track assignment, container handling, import mapping and final mixing all work together.
Common questions
Why does my recording sound incomplete in a video player?
Most players play one audio track at a time. Select the combined track, or include all intended sources on track 1 for convenient previews.
Can I separate an old recording that already mixed mic and game?
Track routing cannot separate an existing mix. Audio separation tools can estimate components, but they cannot guarantee clean original microphone and game tracks.
Sources & further reading
Written for ToolWillow with original explanations and examples. Consult current product documentation for controls that vary by version.