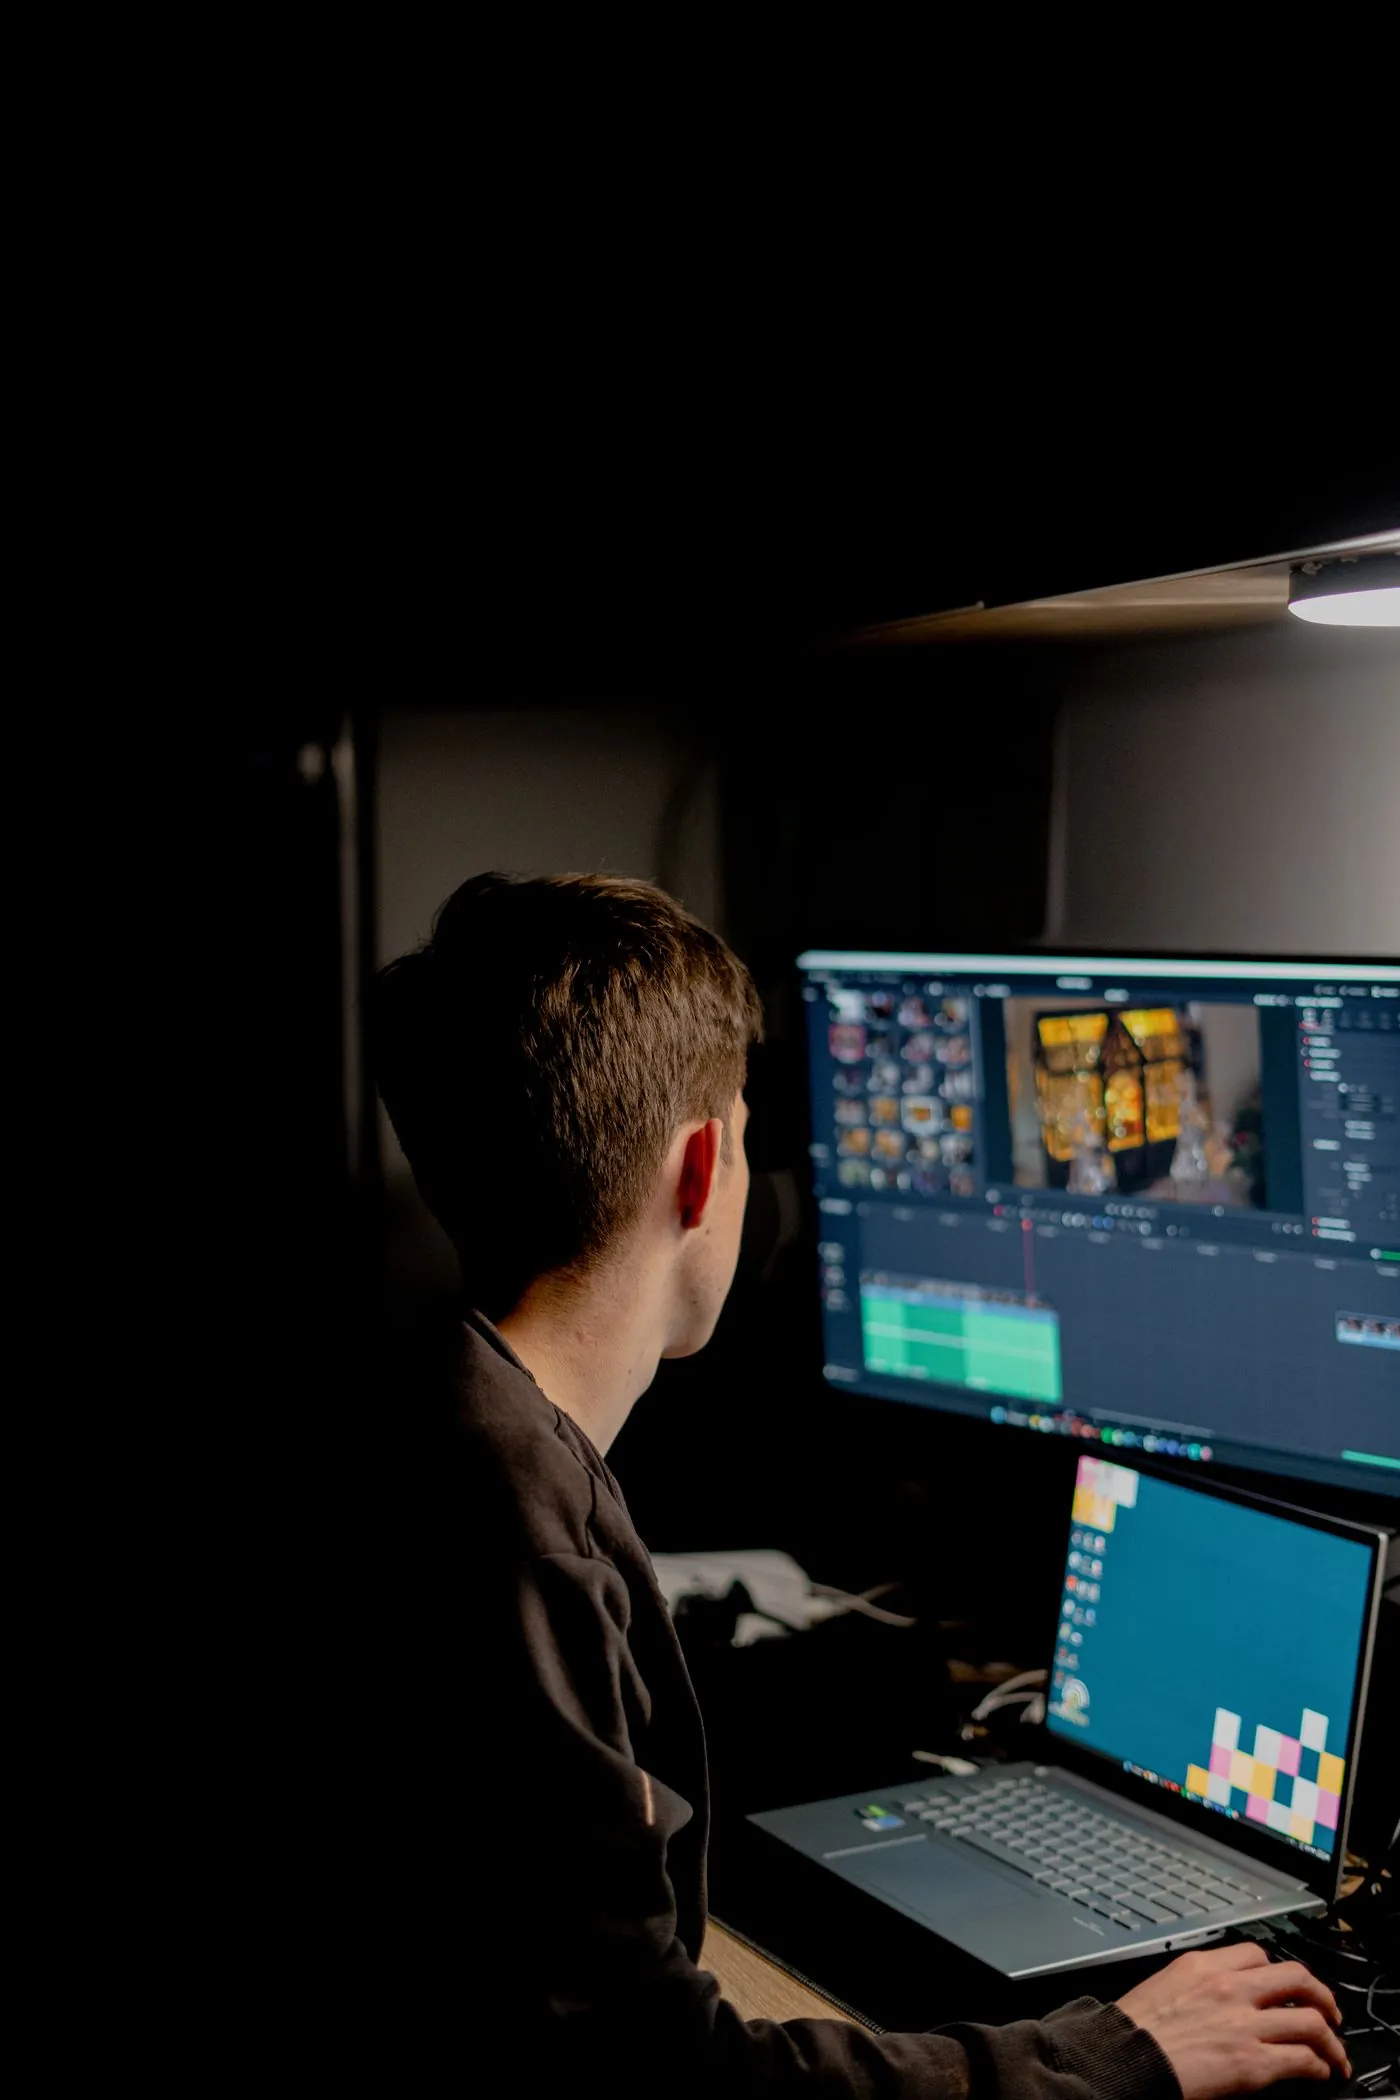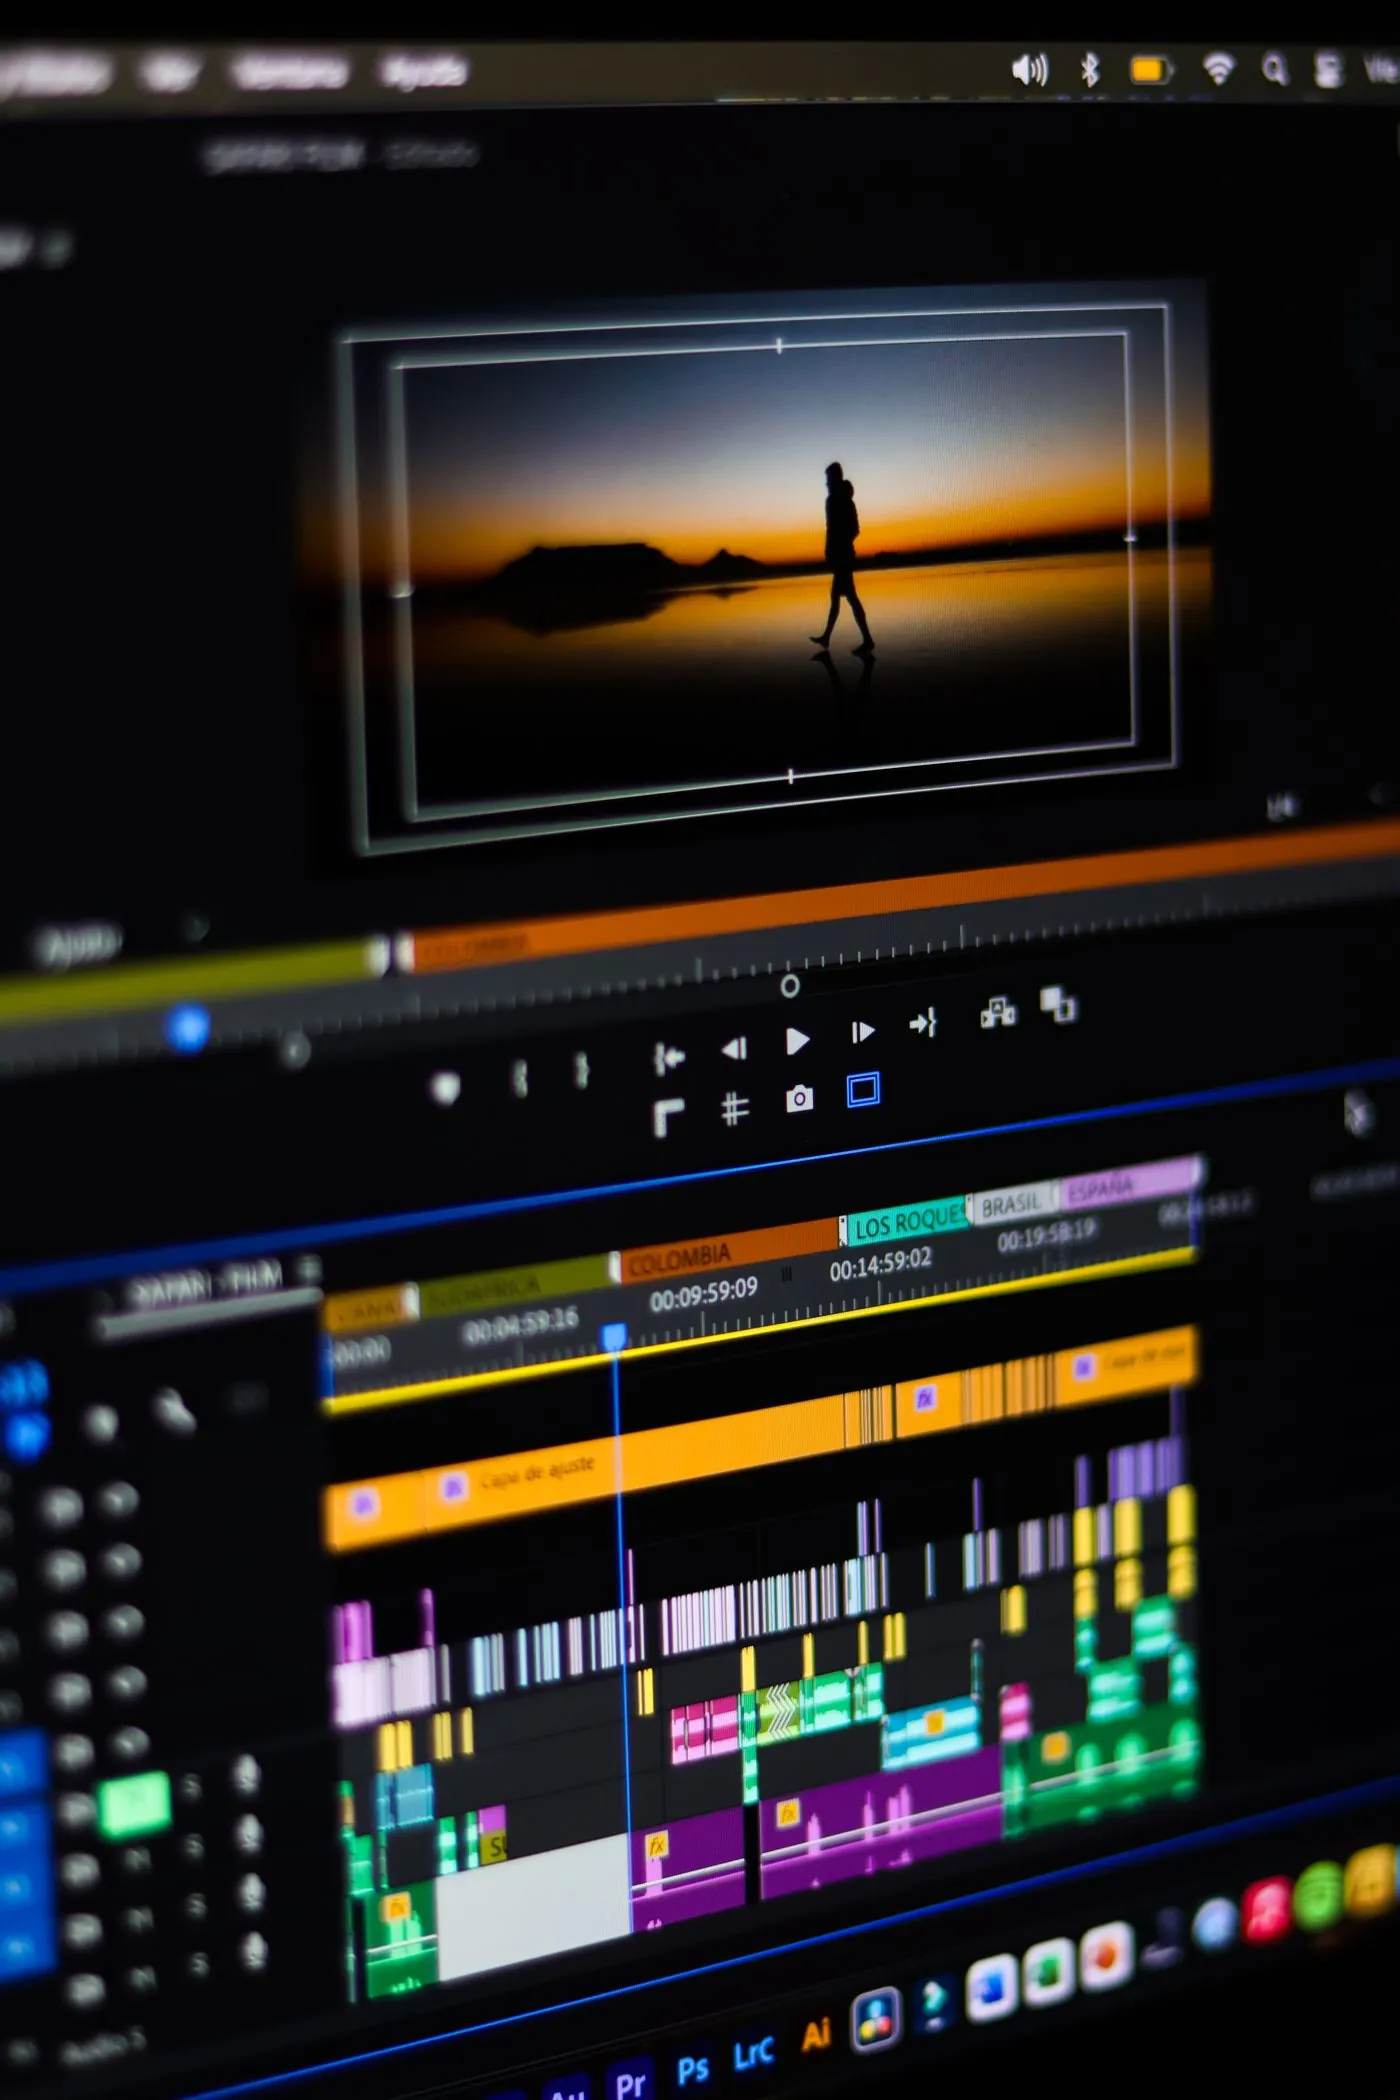
Align the focal points first, then accelerate the outgoing zoom and decelerate the incoming zoom. Motion continuity matters more than a huge scale value.
The cut works when both shots agree
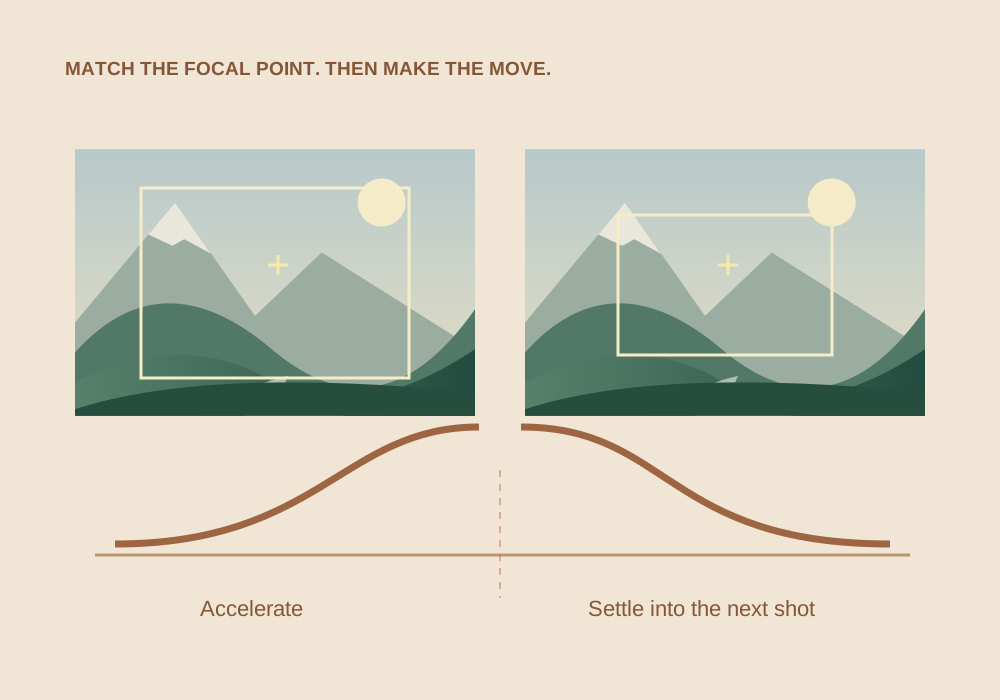
A zoom transition asks the viewer to read two shots as one continuing movement. If the outgoing shot zooms toward a face on the left and the incoming shot centers a building on the right, the cut feels like a jump. Start by choosing two clips with a similar focal point or use a small position adjustment to align them.
This recipe uses Transform controls on the Edit page. It creates a push-through zoom cut rather than a downloadable preset. It is a suggested workflow; menu placement and curve controls can vary between Resolve versions. Work on duplicate clips or a duplicate timeline so you can reset freely.
Prepare a small transition window
- Place two clips next to each other on a timeline with the intended project frame rate.
- Choose the exact cut frame based on the action or music.
- For a first attempt, use the last eight frames of clip A and the first eight frames of clip B as your animation window. At 30 fps, each side is about 0.27 seconds.
- Check the framing of both clips at the cut. Put their main subject near the same position.
Eight frames is a creative starting point, not an ideal value for every project. A slow scenic shot may want a longer move; a fast montage may want less. Do not retime the footage just to force this duration.
Animate the outgoing clip
Select clip A and open the Inspector’s video Transform controls. At the start of your eight-frame window, set linked Zoom to 1.00 and add a Zoom keyframe. At the last visible frame before the cut, try 1.35. These example values assume a clip whose neutral transform is 1.00; adapt them if you have already reframed it.
Adjust Position if necessary so the apparent zoom aims toward the subject. Animate Position alongside Zoom when keeping the subject aligned requires it. Scrub the window and check that the edges remain covered. A large move can expose edges if you also rotate or offset the image.
Continue the movement in the incoming clip
Select clip B. At its first visible frame, try Zoom 1.35 with a keyframe. About eight frames later, return to 1.00. Match the subject’s position at the cut as closely as the footage allows.
Open the clip’s keyframe or curve controls where your version exposes them. Shape the outgoing move to begin gently and accelerate toward the cut. Shape the incoming move to start quickly and settle gently. Watch the resulting curve and playback rather than relying on ambiguous ease-in/ease-out labels.
This symmetrical scale recipe is deliberately simple. The perceived speed also depends on shot size, subject distance, and camera movement, so the two halves may need different values.
Fix the three most common problems
- The cut pops: reduce the zoom amount and align the subject again. A dissolve will not reliably repair a mismatched focal point.
- The movement pauses: check the curve near the cut. Both sides should feel fast at that moment, rather than easing to a stop and restarting.
- The picture gets soft: you are cropping into existing pixels. Use a modest zoom or higher-resolution source rather than trying to sharpen heavily.
Motion blur can soften the join, but it is optional and its controls, performance, or licensing may depend on the method used. Get the geometry right before adding effects. Judge a rendered short section if playback is dropping frames; a stuttering preview cannot show timing accurately.
Finish with an export check
Export the transition plus a few seconds on either side. Watch once with sound and once without it. Sound can hide a rough cut; the silent pass reveals whether the movement stands on its own. If you cannot tell where your eye should land after the cut, simplify the transition.
Keep the same timeline and export frame rate for this test. A frame-rate conversion changes the visible timing and can create duplicates or interpolation artifacts that look like a keyframe problem.
Common questions
Do I need Resolve Studio?
The basic Transform-keyframe workflow uses ordinary editing controls. Optional effects can have separate version or licensing requirements.
Why do 1.35 zoom values look different on two shots?
The apparent motion depends on the subject size, framing, and original camera movement. Match the visual result rather than insisting on identical numbers.
Sources & further reading
Written for ToolWillow with original explanations and examples. Consult current product documentation for controls that vary by version.