Identify the actual HDR source, transform it once into the intended SDR output, and make the export tags describe that output. Changing metadata alone does not tone-map the image.
The bright phone preview is not an SDR reference
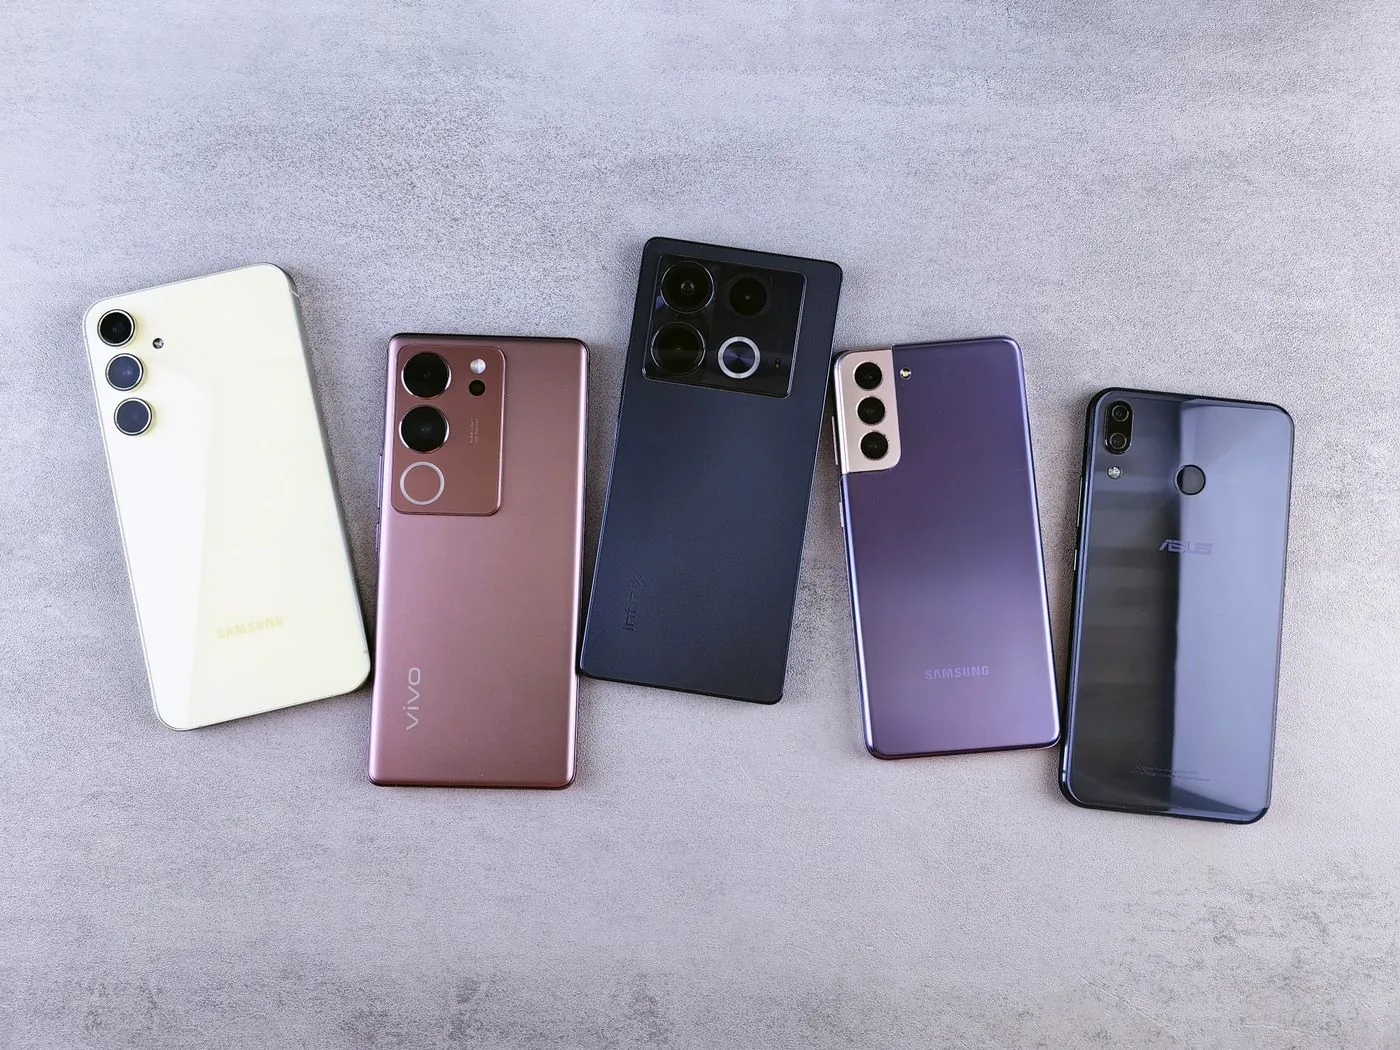
A clip looks rich and bright on a phone, then gray or harsh in an editing application. The phone may be displaying HDR on an HDR-capable screen, while the edit or export path is treating it as ordinary SDR. The same pixel values need different interpretation under different transfer functions and color spaces.
HDR is not one interchangeable format. Phone footage can use different recording modes, HDR transfer characteristics and metadata depending on device and settings. Identify the source before selecting an input transform. Do not use a random camera-log LUT on a phone HDR clip simply because both look flat when interpreted incorrectly. A LUT intended for another camera is not a universal HDR conversion.
Inspect a representative original
Use the original file from the phone rather than a copy already passed through messaging or social publishing. Inspect its codec, bit depth, color primaries and transfer characteristics with a media-information utility. Look for an HDR indication such as HLG or PQ, while remembering that metadata can be incomplete or altered by an earlier conversion.
Check the phone’s recording settings and record them with the project. Apple documents HDR recording controls that vary by supported model; other phones have their own options. If your sources include both HDR and SDR clips, mark that distinction before grading. Assigning one HDR input space to the entire bin can transform the ordinary SDR shots incorrectly. Do not guess from filename or a “10-bit” label alone.
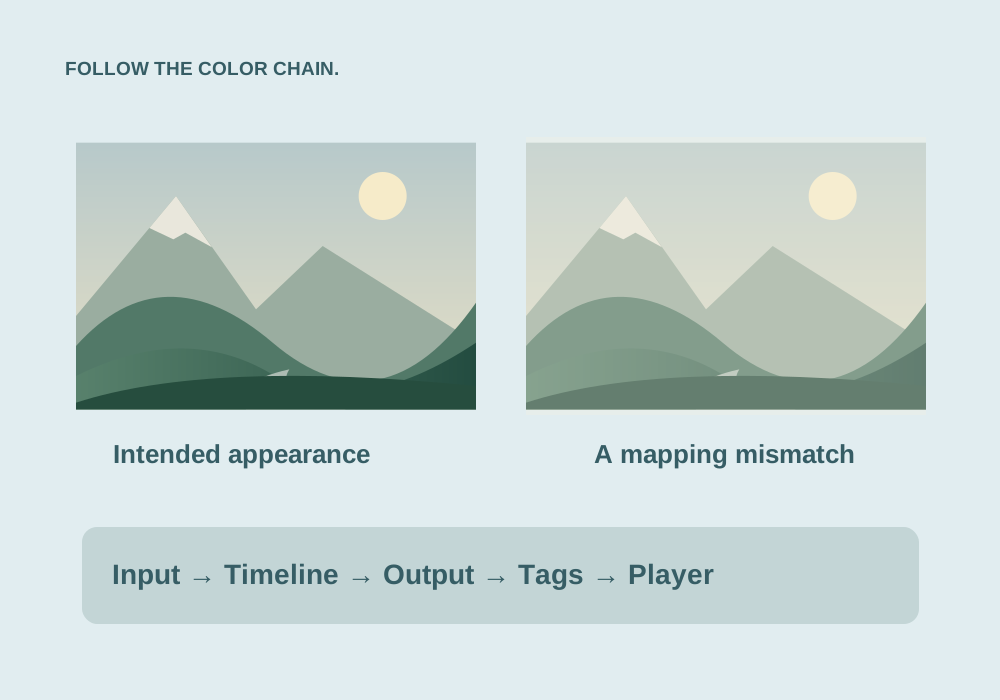
Set one color-managed path in Resolve
- Duplicate the project or timeline before changing color management.
- Choose a Resolve color-managed workflow appropriate to your installed version. A wide working space such as DaVinci Wide Gamut/Intermediate can be useful when deliberately configured.
- Assign each clip’s actual input color space and transfer function. Allow automatic interpretation only after checking representative footage.
- Set the intended SDR output, commonly Rec.709 with the gamma required by the actual delivery and viewing workflow.
- Confirm that an output LUT or extra color-space transform is not applying the HDR-to-SDR conversion a second time.
This establishes input, working and output stages. Menu labels and tone-mapping options vary across Resolve versions, so use the current Blackmagic color-management guide for your configuration. Automatic management is convenient, but a checked input assignment is still essential.
Tone-map bright areas before judging the grade
HDR highlights can contain values beyond ordinary SDR display brightness. Tone mapping fits that information into the SDR output while trying to preserve useful highlight relationships. Simply clipping everything above the SDR ceiling loses detail; merely lowering exposure can make faces too dark while leaving the wrong mapping intact.
Inspect windows, clouds, reflective objects and skin. Use the waveform to check whether highlights are piling up at a hard ceiling, then review the image visually. Gamut mapping is a separate concern for colors outside the SDR destination’s gamut. Choose the management or transform’s appropriate tone- and gamut-mapping behavior, then refine exposure and contrast in the working space. Do not grade around an unidentified input mismatch.
Keep tags, levels and the image consistent
For an SDR delivery export, choose settings that encode the transformed SDR image and label it accordingly. H.264 in MP4 can be a compatible delivery option when the destination accepts it; the codec alone does not determine whether the picture has been correctly transformed.
Check export color-space and gamma tags against the actual output. Changing HDR metadata to Rec.709 without changing image values is not tone mapping. Check data levels as a separate encoding interpretation issue; forcing full levels is not a general cure for a dull HDR conversion. Keep the first diagnostic export short and avoid changing output gamma, data levels, bitrate and grading contrast simultaneously. You need to know which change produced the difference.
Re-import before blaming the external player
Export a section with a face, a bright window and a saturated object. Re-import it into Resolve as the SDR file it now is. Do not assign the original HDR input transform to this already converted export. Compare matching frames against the intended timeline output using the viewer and scopes.
Next view the export on the actual SDR destination and in another reliable player. If the re-import matches but external playback differs, investigate player color management, display mode and tags before changing the grade. If the re-import itself differs, revisit the transform and export chain. Save the HDR originals as well as the SDR delivery master; an SDR export does not retain the full range of choices available from the original capture.
Common questions
Is all phone HDR footage HLG?
No. Recording mode, device and metadata can differ. Inspect the actual original and use its correct color interpretation.
Can I turn HDR into SDR by changing a tag?
No. Tags describe how image values should be interpreted. HDR-to-SDR delivery requires an appropriate image transform and tone mapping, with consistent output tags.
Sources & further reading
Written for ToolWillow with original explanations and examples. Consult current product documentation for controls that vary by version.